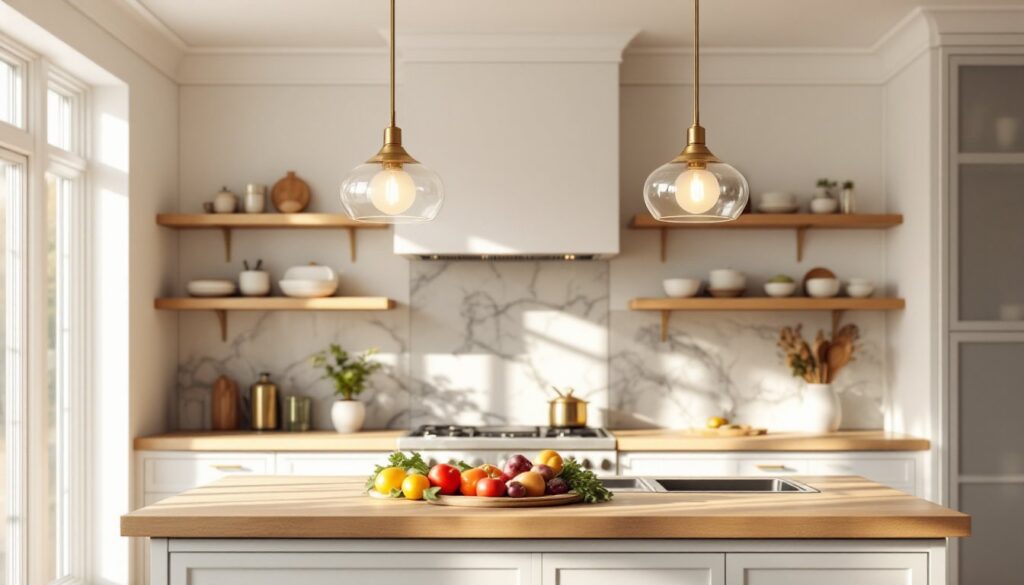
Pendant lights hang from the ceiling and deliver focused, stylish illumination to specific areas, think kitchen islands, dining tables, or reading nooks. Unlike flush-mount fixtures that blend into the ceiling, pendants make a visual statement while solving real lighting problems. Whether you’re upgrading a dim corner, replacing dated fixtures, or building out a room’s ambiance from scratch, understanding pendant basics saves money, time, and regret. This guide walks you through selection and installation so you can hang the right light in the right place.
Table of Contents
ToggleKey Takeaways
- Pendant lights hang from the ceiling to deliver focused illumination over islands, dining tables, or reading nooks, making a visual statement while solving real lighting problems.
- Proper sizing and hanging height are critical: choose a diameter roughly one-quarter to one-third the surface width, and hang 12–20 inches above a dining table or 30–36 inches above a kitchen counter.
- Select a pendant light style—glass, metal, fabric, or mixed-material—that matches your room’s aesthetic, from modern and transitional to farmhouse and eclectic designs.
- Installation is straightforward when replacing an existing fixture: turn off power, test with a voltage tester, connect wires safely, and adjust cord length to your target height in 30–60 minutes.
- Always prioritize electrical safety by using a voltage tester, following proper wire connections (black to black, white to white, ground to ground), and hiring a licensed electrician for new circuits or structural concerns.
- LED bulbs paired with pendant lights offer energy efficiency, cooler operation, and durability, though you must respect the fixture’s maximum wattage specifications to avoid heat buildup.
What Are Pendant Lights and Why Use Them?
A pendant light is a single fixture suspended by a cord, chain, or rod from the ceiling. It hangs at eye level or slightly above functional zones, creating task lighting or ambient glow depending on the bulb and fixture design. The key difference from chandeliers or flush mounts is isolation, a pendant focuses light downward and outward in one or a few directions, rather than flooding an entire room.
Pendants shine in kitchens over islands or breakfast bars, where they replace overhead banks of lights with warmer, more sculpted illumination. Dining rooms benefit from a single pendant above a side table or a trio strung across the main table. Bedrooms use them as reading lights flanking a headboard, and entryways hang them to create a welcoming focal point. The flexibility comes from drop length: you adjust cord or chain to float the fixture at task height, typically 30 to 36 inches above a countertop, 12 to 20 inches above a dining table depending on table height and fixture size.
Why choose pendants over other options? They’re energy-efficient when paired with LED bulbs, visually appealing (many serve as decor, not just utility), and infinitely adjustable. Plus, unlike recessed or under-cabinet lighting, pendants install without running new wiring through walls, you hook into existing ceiling electrical boxes. Lighting can transform any statement, and the same principle applies to well-chosen pendants.
Key Factors to Consider When Selecting a Pendant
Selecting the right pendant means balancing function, aesthetics, and your room’s physical constraints. A beautiful fixture hung too high or too low becomes frustrating, not beautiful.
Size, Height, and Room Layout
Start by measuring. A pendant’s diameter typically ranges from 6 to 18 inches: the rule of thumb is to choose a size that’s roughly one-quarter to one-third the width of the surface below (a 36-inch island might host a 10- to 12-inch pendant, or three smaller ones spaced evenly). Hanging height matters as much as width: 12 to 20 inches above a dining table lets conversation flow without glare in faces, while 30 to 36 inches above a kitchen counter keeps the fixture clear of head-bumping and sightlines.
Room ceilings affect drop length too. An 8-foot ceiling (standard in most US homes) limits how far down you can hang before the fixture feels cramped: a 10-foot ceiling or vaulted space allows drama and longer chains. Measure from the electrical box or existing ceiling fixture location, you’re not relocating circuits: you’re working with what’s there.
Style and Design Compatibility
Pendants range from minimalist glass spheres to industrial caged metals to ornate boho-wrapped fabrics. Pull images of rooms you admire and look for repeating materials: sleek stainless steel and brass suggest modern or transitional settings, while wood, rope, or textured metals suit farmhouse or eclectic styles. Don’t pick a fixture that clashes with your cabinet, wall, or dominant furniture finishes, pendants hang in the sightline, so they anchor the visual story.
Consider the bulb type too. A covered dome pendant hides the bulb (choose any standard A19 or A21 LED): an open-frame or clear-glass pendant exposes the bulb, so you’ll want a decorative shape like a vintage Edison or globe. When it comes to lighting, Lee Broom Lighting: Transform Your Space with Innovative Artistry and Style shows how thoughtful fixture design elevates everyday rooms.
Popular Pendant Light Styles and Materials
Understanding common styles helps you narrow choices without drowning in options.
Glass pendants (clear, frosted, or tinted) suit modern and transitional homes. They diffuse light evenly and don’t trap dust like fabric. Clear glass lets you showcase a decorative bulb: frosted softens harsh shadows.
Metal pendants (brass, copper, steel) work in nearly any style. Industrial caged designs pair with concrete and exposed brick: polished brass fits glam or mid-century settings: matte black complements minimalist interiors. Wooden Nickel Lighting: Transform Your Space with Rustic Charm and Modern Elegance demonstrates how wood elements add warmth.
Fabric or woven pendants (linen, jute, rattan) create ambient, softer light by diffusing through the material. They work best in casual spaces, bedrooms, dens, where you’re not reading fine print directly below.
Mixed-material pendants combine metal frames with glass, leather, or ceramic inserts. These often cost more but justify it with durability and style flexibility.
Ceramics and concrete are trending for sculptural, artisanal feels. Expect higher price tags and longer lead times if ordering from makers. Regardless of material, check that the fixture carries UL or ETL certification, a mark proving electrical safety testing. Transform Your Space: The Ultimate Guide to Decorative Lighting Fixtures covers broader design principles that apply to pendant selection.
Installation Basics for Homeowners
Installing a pendant is a straightforward electrical task if you’re replacing an existing ceiling fixture and staying within its box footprint. If you’re running new circuits or adding fixtures where none exist, hire a licensed electrician, code varies by jurisdiction, and improper wiring creates fire and shock hazards.
What you’ll need:
- Adjustable wrench or screwdriver (depends on fixture hardware)
- Wire nuts (usually included with the fixture)
- Voltage tester (non-negotiable safety tool: costs $10–$20)
- Needle-nose pliers
- Ladder
- Personal protective equipment: safety glasses and work gloves
Basic steps (assuming you’re replacing an existing fixture):
-
Turn off power at the circuit breaker, then test the existing fixture with a voltage tester to confirm power is off. Don’t skip this, it’s the difference between a safe job and a trip to the ER.
-
Remove the old fixture. Unscrew the canopy (decorative trim ring) and disconnect the wires inside the junction box. Usually three wires: black (hot), white (neutral), bare copper or green (ground). Take a photo for reference.
-
Install the mounting bracket that came with your new pendant. It screws to the electrical box using the existing holes.
-
Thread the cord or chain through the canopy, then connect wires: black to black, white to white, ground to ground. Twist wires together, then screw on wire nuts clockwise until snug. Fold connections neatly into the box, don’t force them: if the box is too tight, you may need a deeper box (a licensed electrician can add one).
-
Hang the fixture by securing the canopy to the mounting bracket with provided screws. Adjust the cord length so the pendant hangs at your target height. Most fixtures let you coil excess cord above the canopy or trim it (check the manual).
-
Turn power back on and test the light. Adjust the bulb wattage or color temperature (warm 2700K for cozy, cool 4000K+ for task areas) if needed.
Common mistakes to avoid:
- Overloading the box. If the junction box is already crowded (common in older homes), the new fixture may not fit. An electrician can install a larger box or reroute wiring.
- Not securing the cord. Pendant cords can loosen over time: check them every few months and re-tighten if sag appears.
- Wrong bulb wattage. Check the fixture’s label for max wattage. Oversizing creates heat buildup and shortens bulb life. LED bulbs run cooler, but respect the spec.
- Forgetting the junction box cover. If you’re not hanging a new fixture there and leaving the box empty, cover it with a blank plate for code compliance and safety.
For a single pendant over an island or dining table, this job takes 30–60 minutes if you’re comfortable with basic tools. Multiple pendants or structural questions (like “can this box handle three pendges instead of one?”) warrant a professional. Installing Under Cabinet Lighting teaches related techniques that apply to other ceiling-mounted fixture work. Building inspectors sometimes require permits for electrical changes, especially in renovations, check your local code before starting.
Conclusion
Pendant lights solve functional lighting gaps while adding design personality to any room. Pick a size and height that match your space’s layout, choose materials and styles that complement your decor, and install with safety (voltage testing, proper wiring) as your top priority. When in doubt about electrical work, bring in a licensed professional, it’s worth the cost to avoid hazards and ensure code compliance. Your pendant will hang for years, so invest time upfront in the right choice.

