Imagine transforming your kitchen from drab to fab with just a flick of a switch. Under cabinet lighting isn’t just about aesthetics: it’s a game-changer for functionality too. Whether you’re whipping up a gourmet meal or searching for that elusive can of beans, good lighting is essential. The best part? Installing it is easier than you might think. So grab your tools and let’s jump into the illuminating world of under cabinet lighting.
Choosing the Right Type of Under Cabinet Lighting
Choosing the Right Type of Under Cabinet Lighting
When it comes to under cabinet lighting, the variety can be overwhelming. Let’s break down your options so you can find the perfect fit for your space.
1.1 LED vs. Fluorescent Lights
LED lights are the rock stars of modern lighting, long-lasting, energy-efficient, and available in a plethora of styles. They consume less power and generate minimal heat, making them ideal for tight spaces. On the other hand, fluorescent lights are like that friend who doesn’t quite age gracefully. They light up your kitchen but usually require more maintenance due to flickering or burnt-out tubes. While LED options might cost more up front, they save money in the long run.
1.2 Hardwired vs. Plug-In Options
Next up, consider how you want to power your new lights. Hardwired options require a bit of electrical work and are typically secured directly into your home’s electrical system. This choice is sleek and often looks more professional. Plug-in lights are the opposite: they offer quick installation, just find an outlet and plug them in. These options are great for renters or those wanting a less permanent setup.
1.3 Motion Sensors and Dimmers
To add that touch of luxury, think about integrating motion sensors or dimmers. Motion sensors turn on as you walk by, which is perfect for multitaskers or midnight snackers. Dimmers let you control brightness levels, allowing for flexible lighting based on your activities. Who wouldn’t want the ability to set the mood while prepping dinner or hosting a party?
Choosing the right type of under cabinet lighting is the first step to illuminating your culinary adventures successfully.
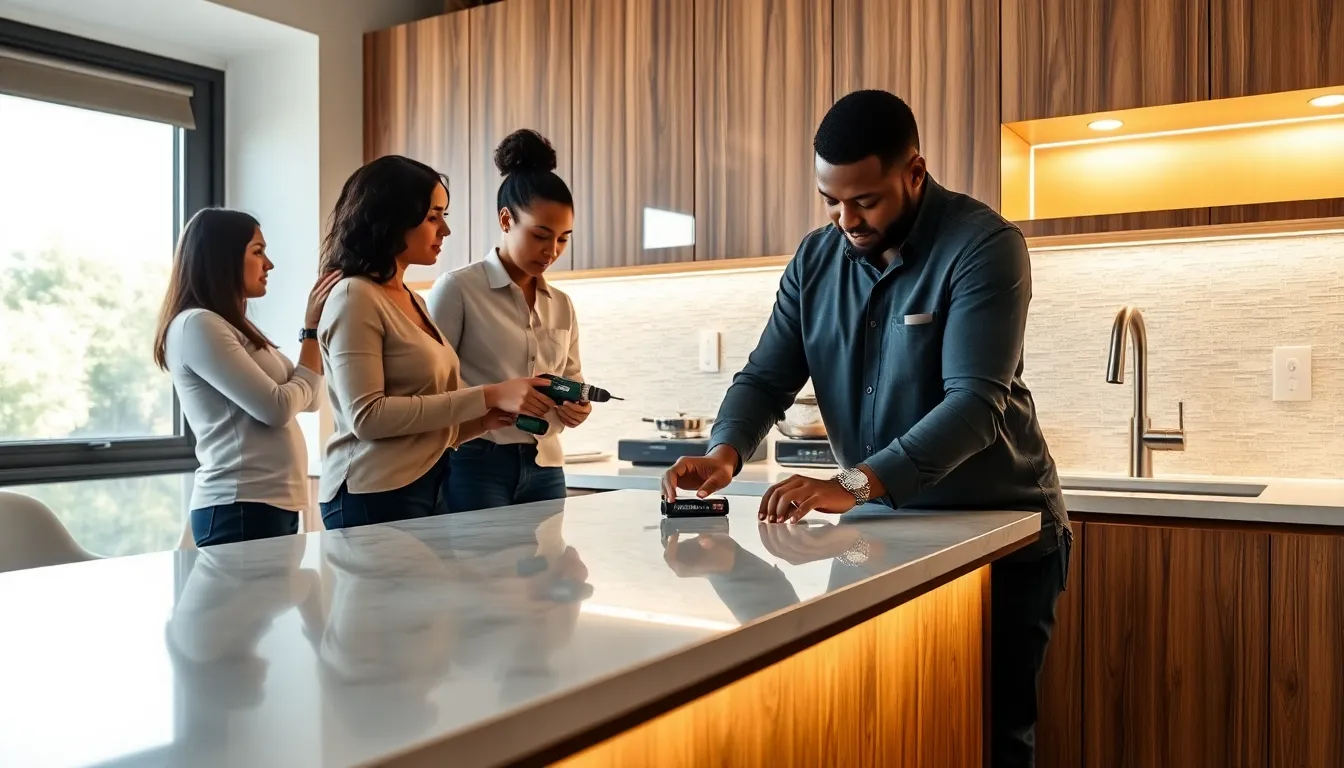
Preparing for Installation
Preparing for Installation
Before diving into installation, a little preparation goes a long way. After all, no one wants to find themselves knee-deep in wires and tools without a plan.
2.1 Tools and Materials Needed
First and foremost, gather your tools. You’ll need a stud finder, drill, wire cutter, and a level. Consider investing in some high-quality tape measure and screwdrivers, too. For materials, make sure you have your chosen fixtures, appropriate wiring (based on whether you’re going hardwired or plug-in), and plenty of mounting brackets.
2.2 Planning the Layout
Next, take the time to plan your layout. Measure your cabinets and decide exactly where you want your lights. Common placements are above the countertop edges for maximum coverage. Visualize how the light will hit your workspace, ensuring there are no dark spots. Sketching a quick diagram might help solidify your thoughts.
2.3 Safety Precautions
Safety first, right? Before messing with any electrical components, turn off the power at the circuit breaker. Using safety glasses while drilling is always a good idea, just in case. If you’re unsure about any aspect of wiring, don’t hesitate to consult with a professional. It’s better to be safe than sorry, especially when it comes to electricity.
Installation Steps
Installation Steps
With your preparations in place, it’s time to roll up your sleeves and get to work. Follow these steps to install under cabinet lighting that will make your kitchen the envy of the neighborhood.
3.1 Mounting the Fixtures
Start by marking where the mounting brackets will go using your level to ensure they’re straight. Drill holes according to your earlier layout, then attach the brackets securely. Once they’re in place, it’s showtime. Position your fixtures onto the brackets, ensuring they’re firmly attached.
3.2 Wiring Connections
Now the fun part, wiring. For hardwired fixtures, connect the wires according to their color (black to black, white to white). Ensure all connections are secure using wire nuts and electrical tape. If you’re plugging in lights, simply guide the cords to your nearest outlet, avoiding any tangles in the process. Remember to double-check that everything is properly connected before powering back up.
3.3 Testing and Adjustments
Once everything is wired up, it’s time for the big reveal, turn the power back on. Test out your new lights. Adjust them as needed, checking for even illumination across your countertop. If something isn’t quite right, don’t hesitate to fine-tune the angles or reposition the fixtures.
Finishing Touches
Finishing Touches
Now that you’ve conquered the lighting installation, it’s all in the details. Let’s tidy things up a bit.
4.1 Concealing Wires
Hide away any visible wiring for a clean finish. You can use cable covers or simply tuck them behind the cabinets. This not only improves the aesthetic appeal but also ensures safety by reducing trip hazards.
4.2 Cleaning and Maintenance Tips
Finally, don’t forget about maintenance. Dust off your lights regularly and clean any fingerprints off to keep them shining bright. Most LED fixtures have a long lifespan, but it’s a good idea to keep an eye on them to ensure they’re functioning properly. Any flickering or strange behavior signals it’s time for an inspection.